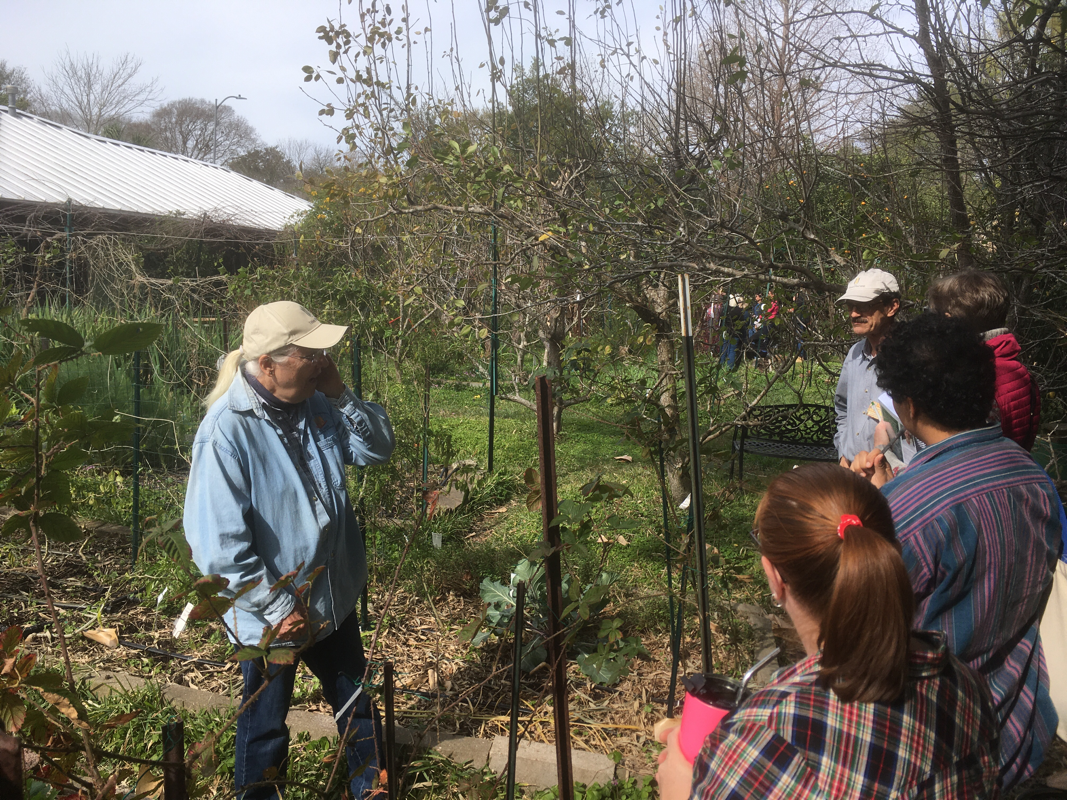
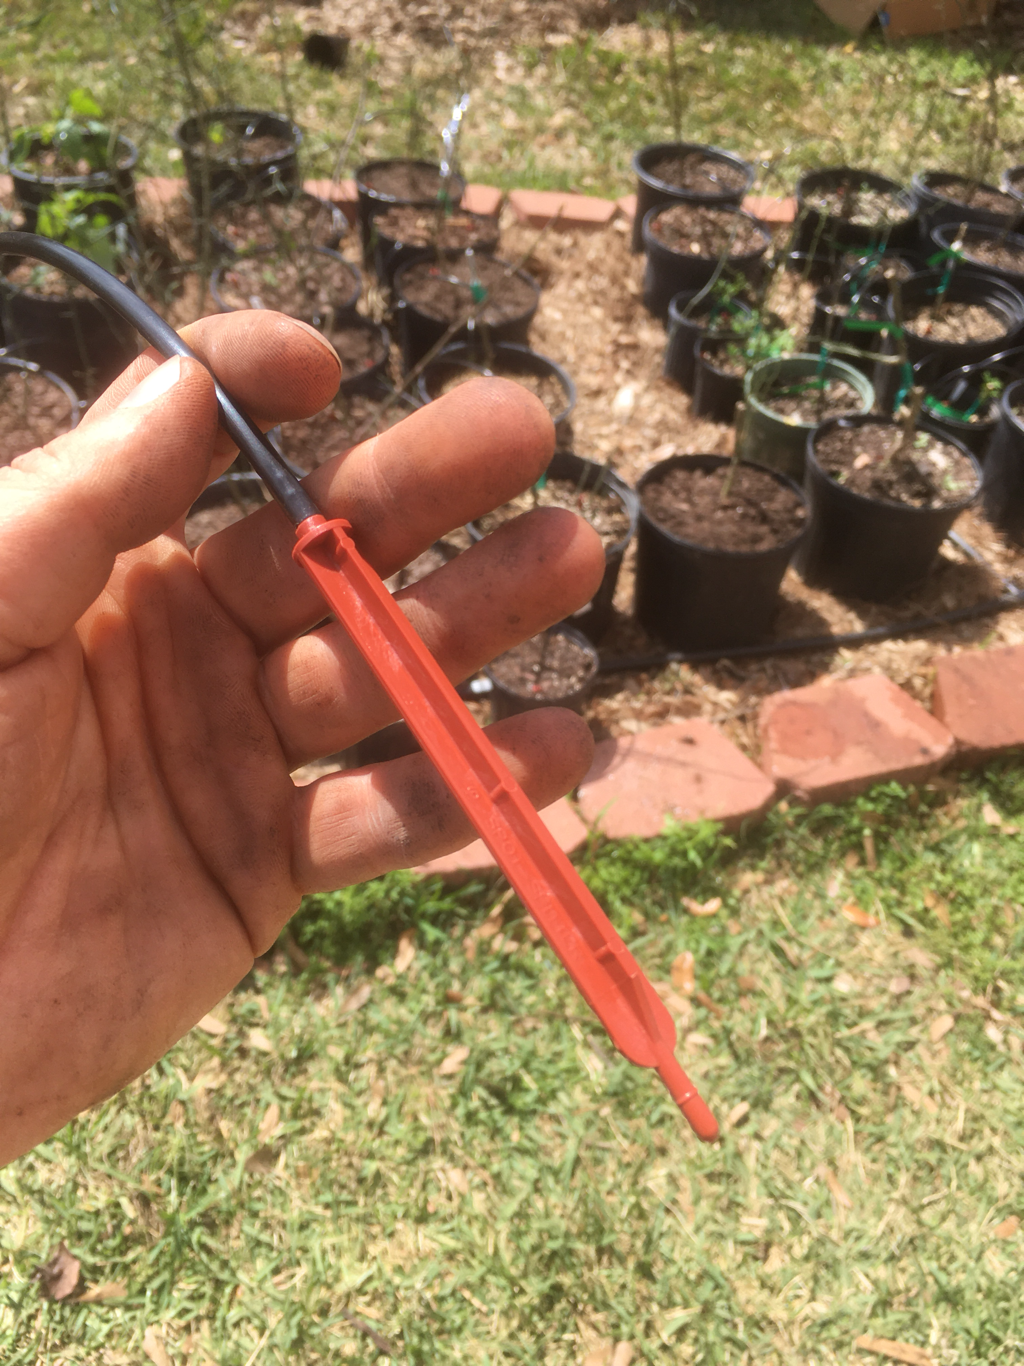
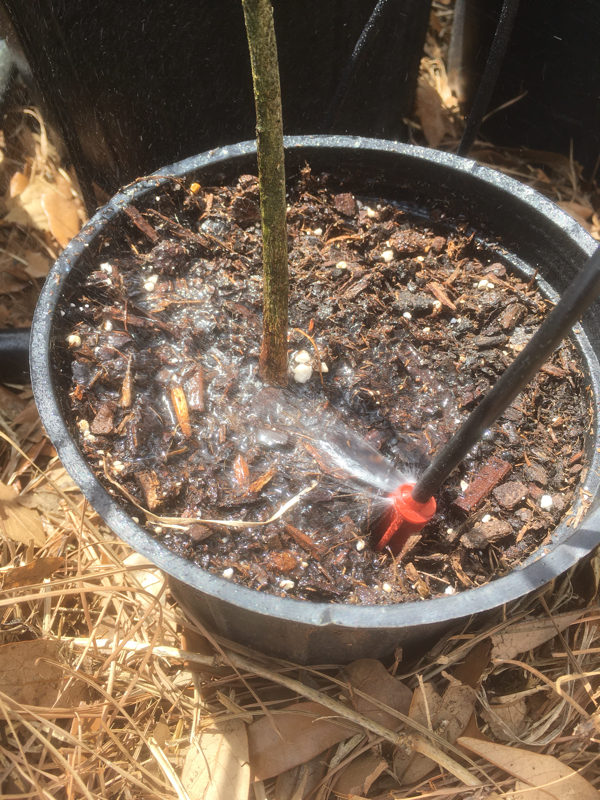
 Spot Spitter | A while back I was checking out citrus trees at RCW nursery, and noticed that they were using these funny little stakes to irrigate all the containers. Their design is simple and brilliant - a simple plastic stake that connects to small diameter line, and uses the geometry of the connection to dispense water in a 160-degree pattern. The tip is even the same shape as the connection, so that you can simply turn the stake around and re-inert it into the tubing to ‘shut it off’. These clever little devices are called ‘Spot Spitters, and are manufactured by a company called Primerus. They come in a wide array of sizes and flow rates, and most importantly they are compatible with the plastic irrigation tubing I’m already using all over the yard. |
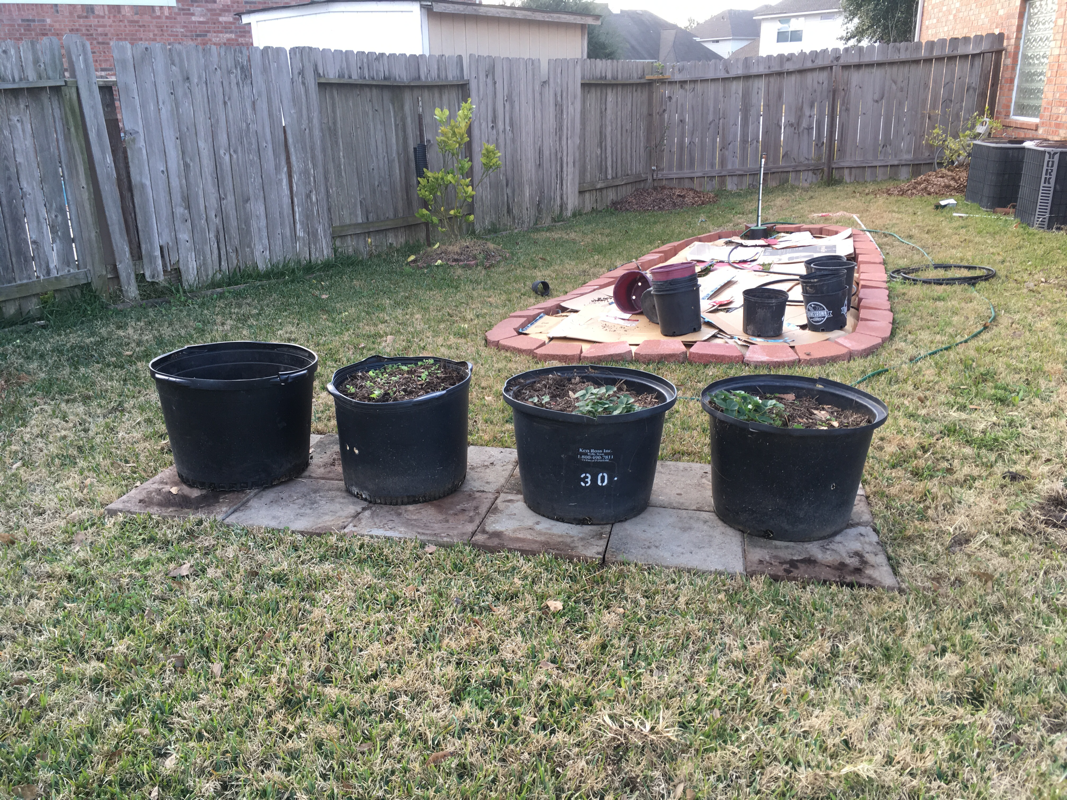
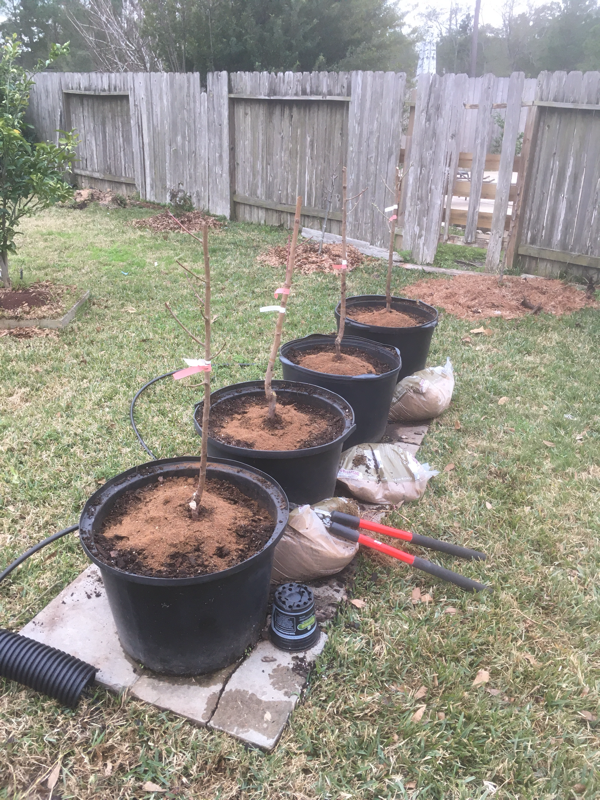
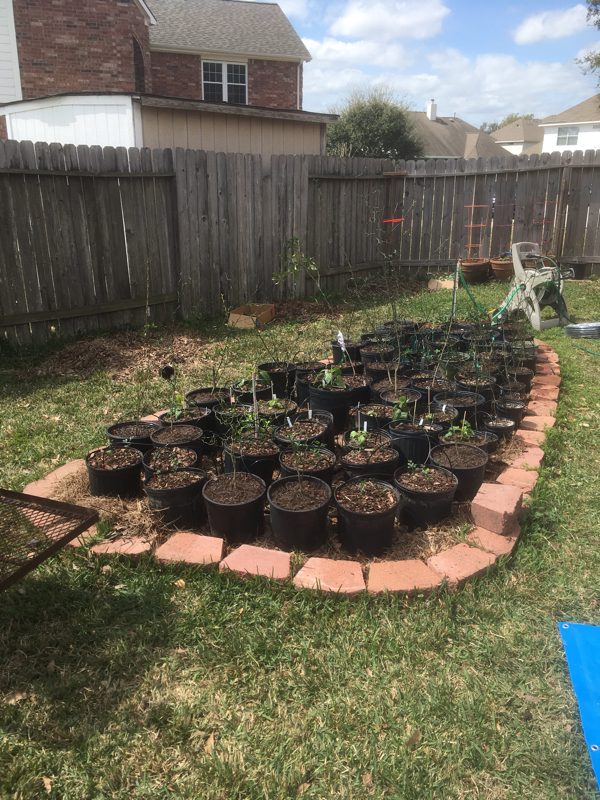
I found the best deal on them at DripWorks, along with a 500’ roll of 1/8”-diameter tubing, and 1/8”-1/4” adapter/connectors for joining the small diameter line to my existing 1” main lines. I bought 100 spitter stakes, and have been using them to irrigate all the containers in my ‘Pepper Patch’. It really is amazing how many of these can be deployed on a single length of 1” water line - I calculated that I could use 250 on a single line that was 100’ long, and still get good water distribution!
I’ve just started using these, and other issues may pop up as time goes on, but for now I’m sold! Using these on a timer sure beats dragging hoses all over the yard.
I’ve just started using these, and other issues may pop up as time goes on, but for now I’m sold! Using these on a timer sure beats dragging hoses all over the yard.

*I didn’t receive any compensation from Primerus for this post, I just really like these things because they’re simple, easy to use, cheap, and they seem to work!