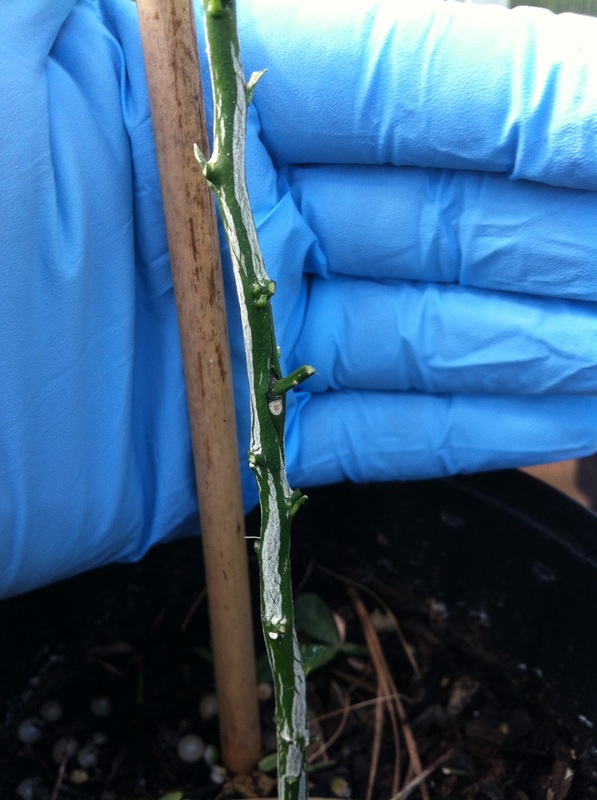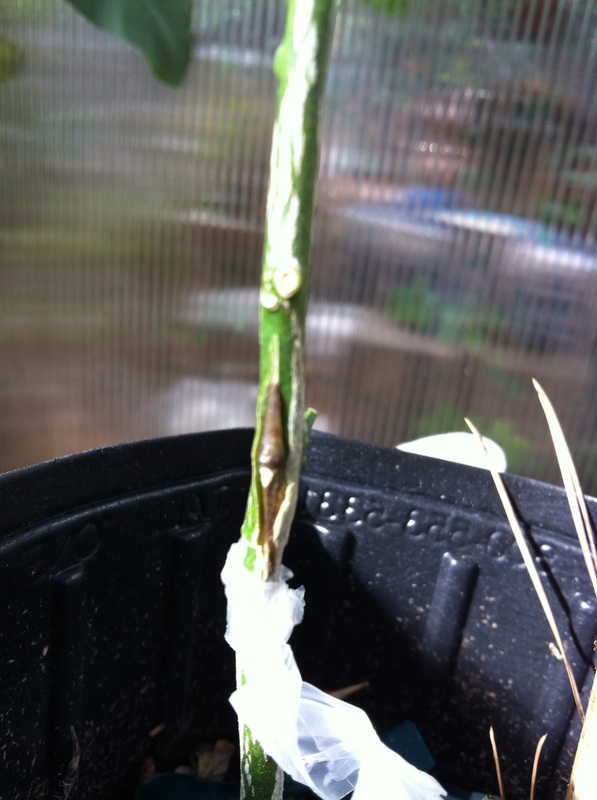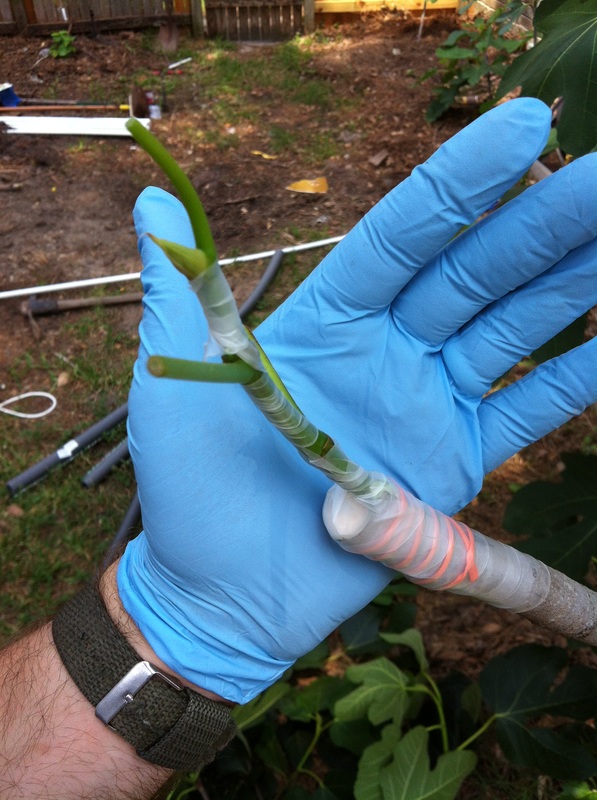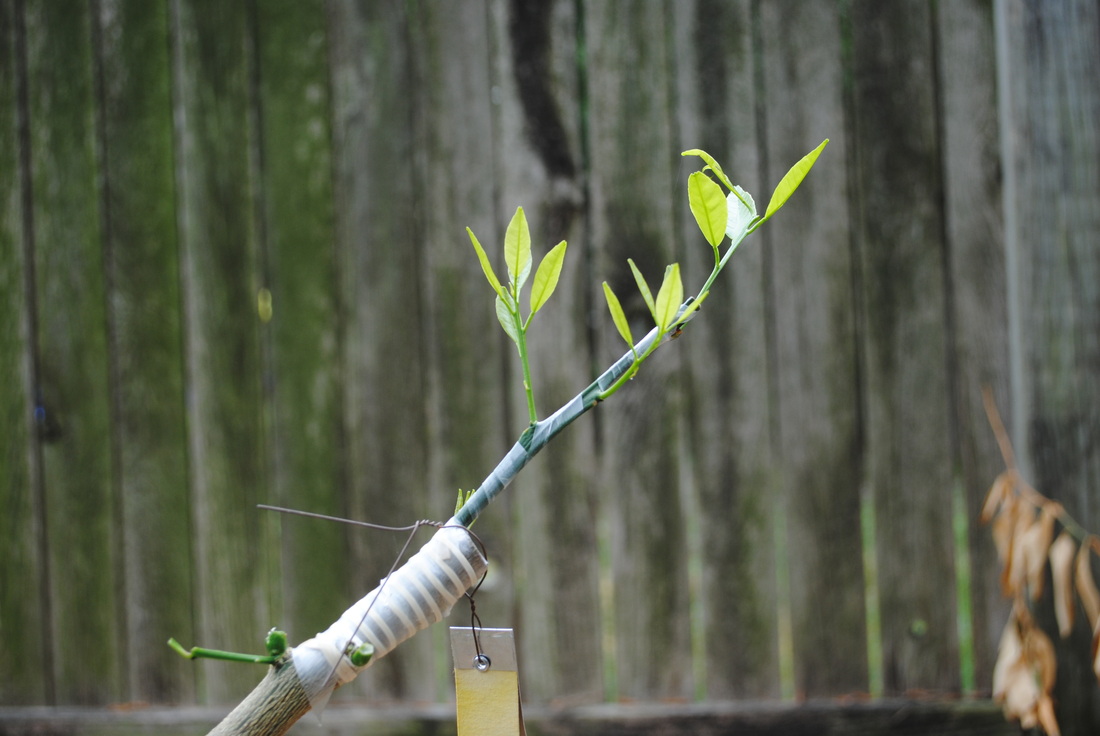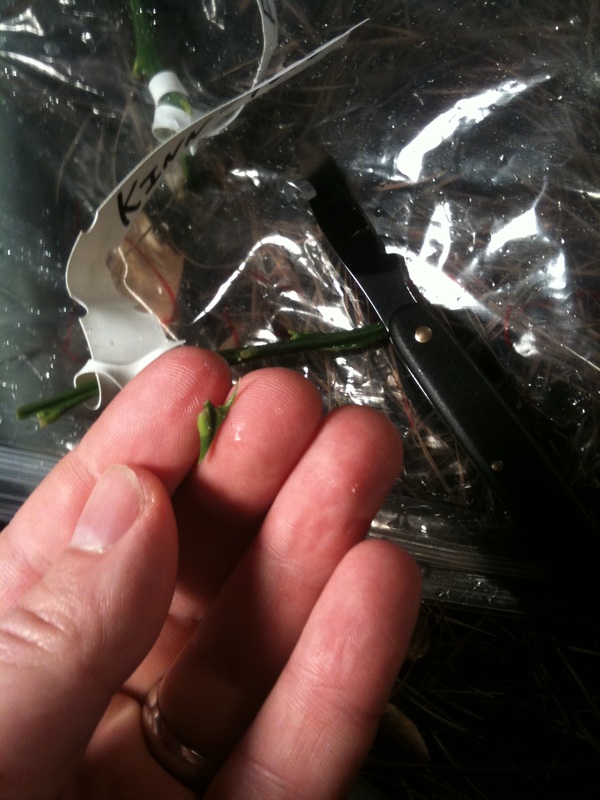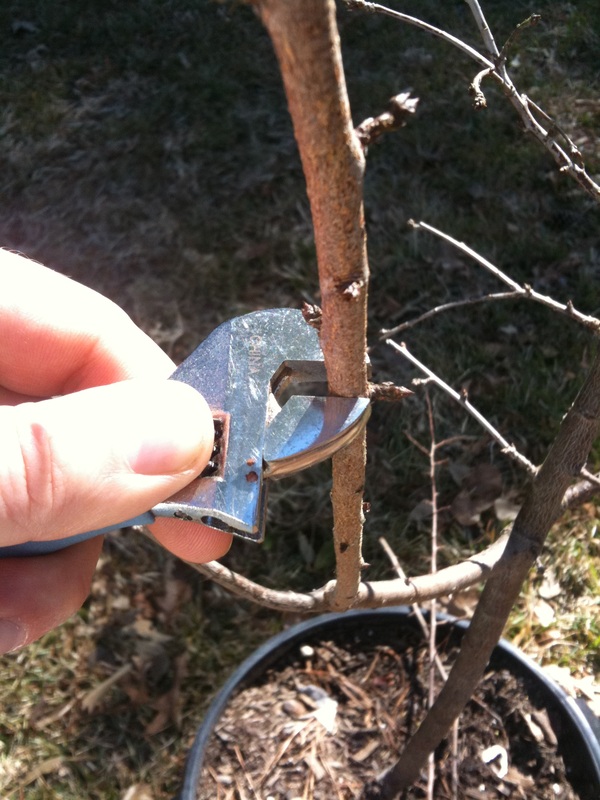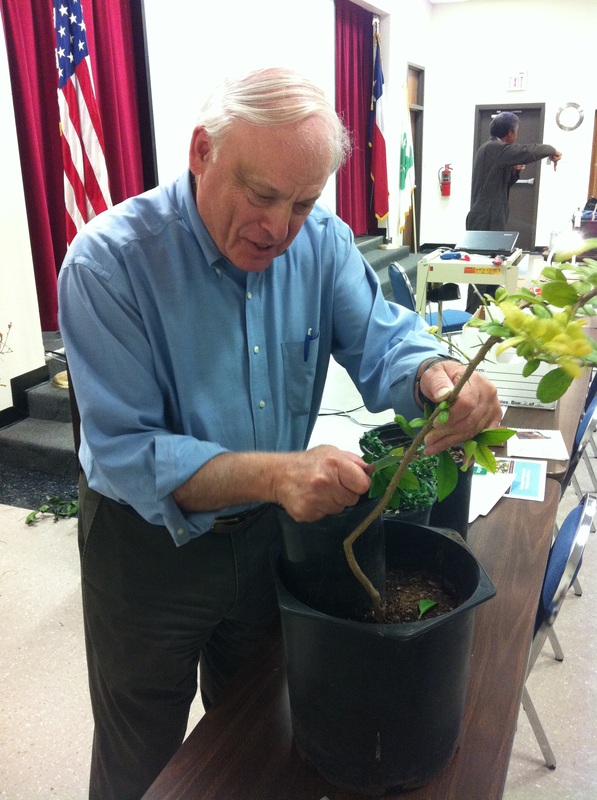
Dr. Natelson preparing an approach graft.
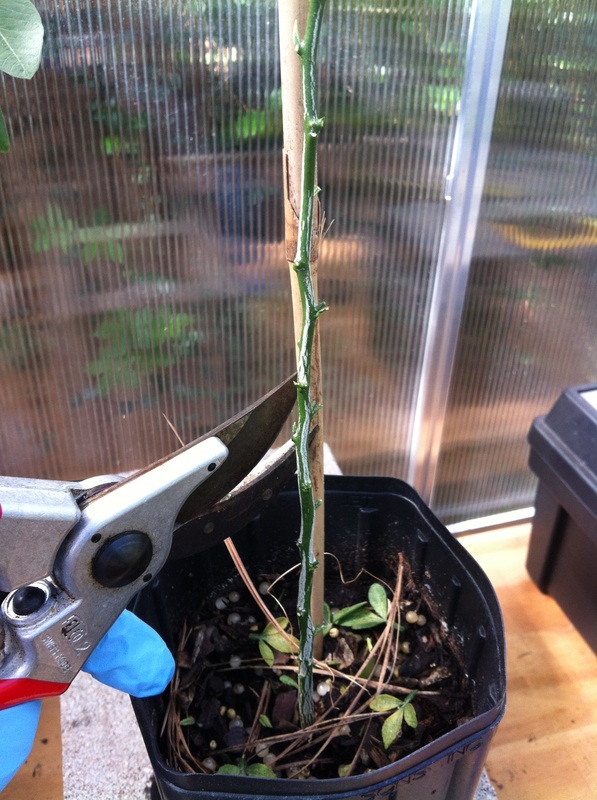
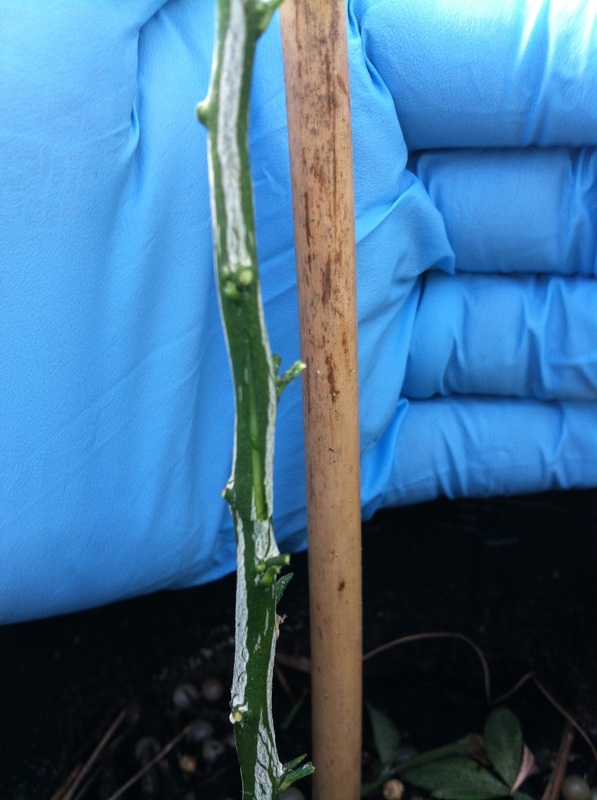
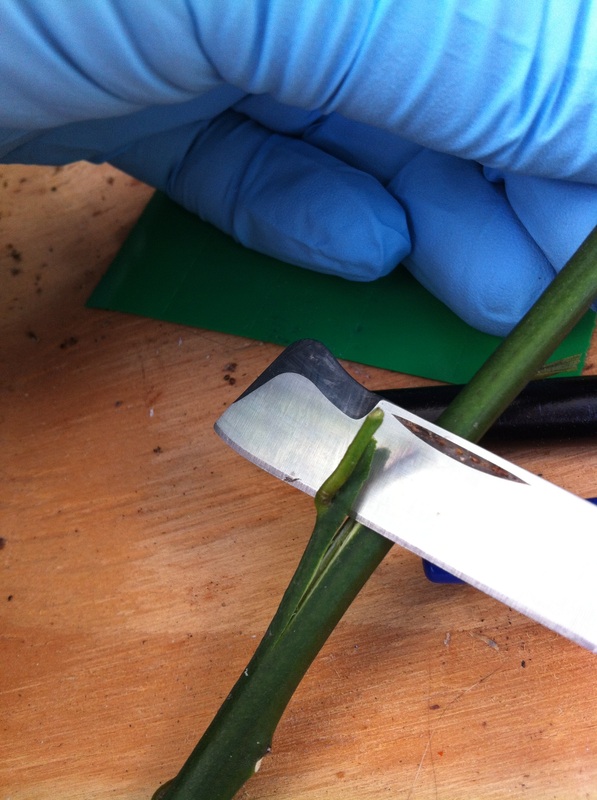
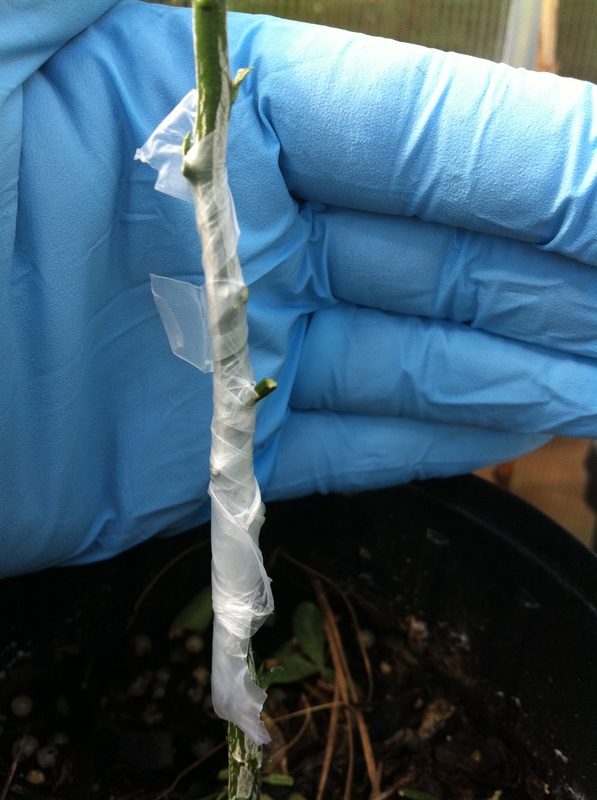
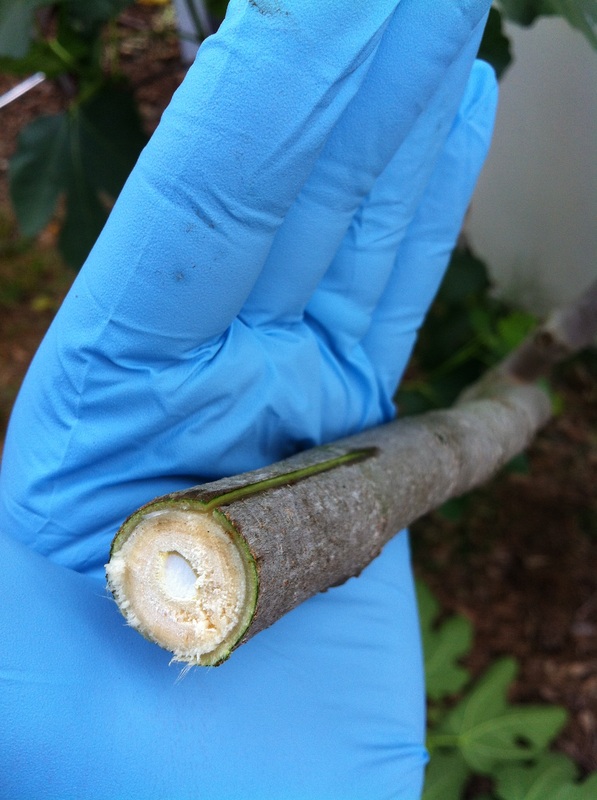
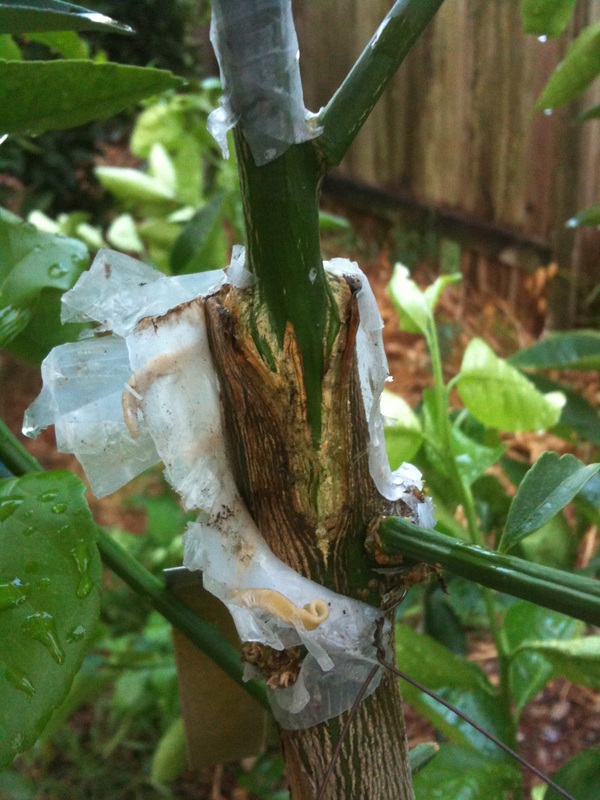
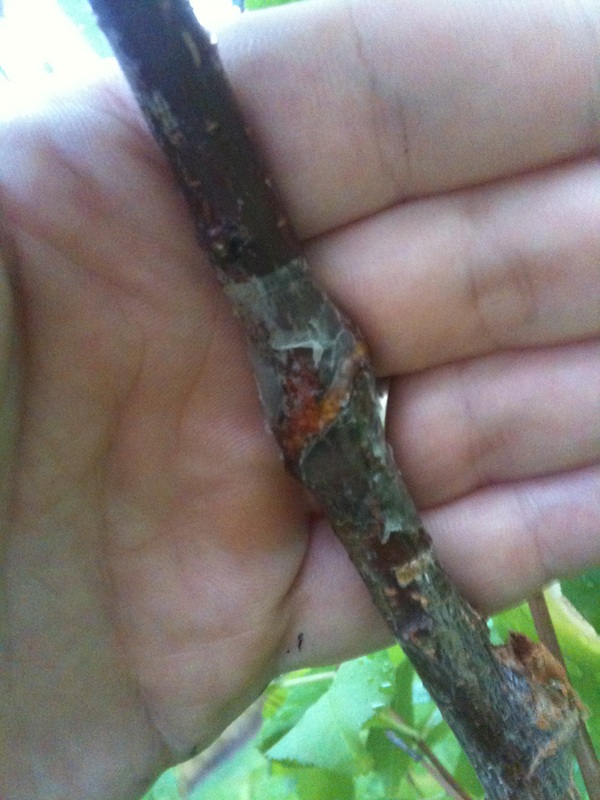
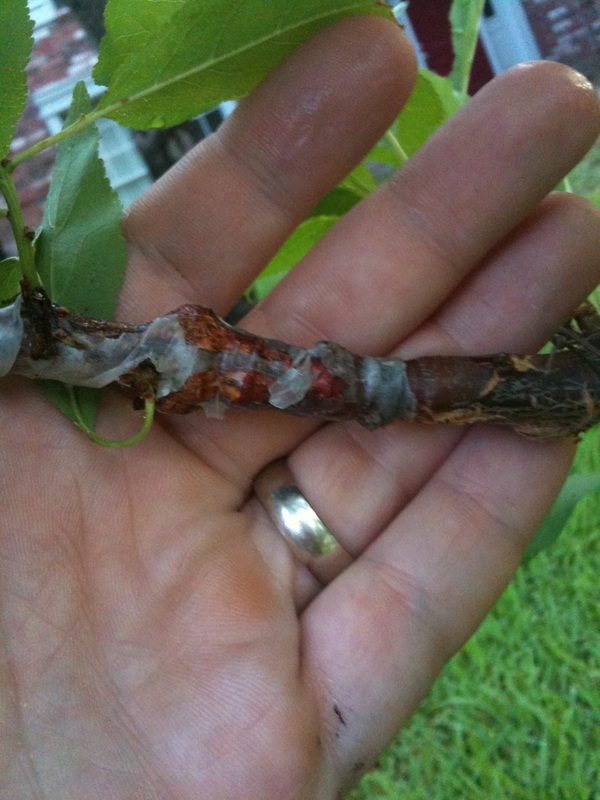
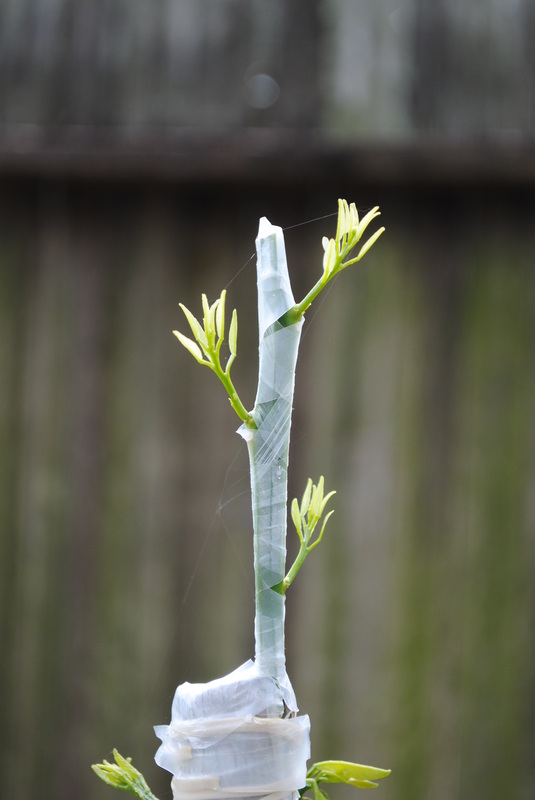
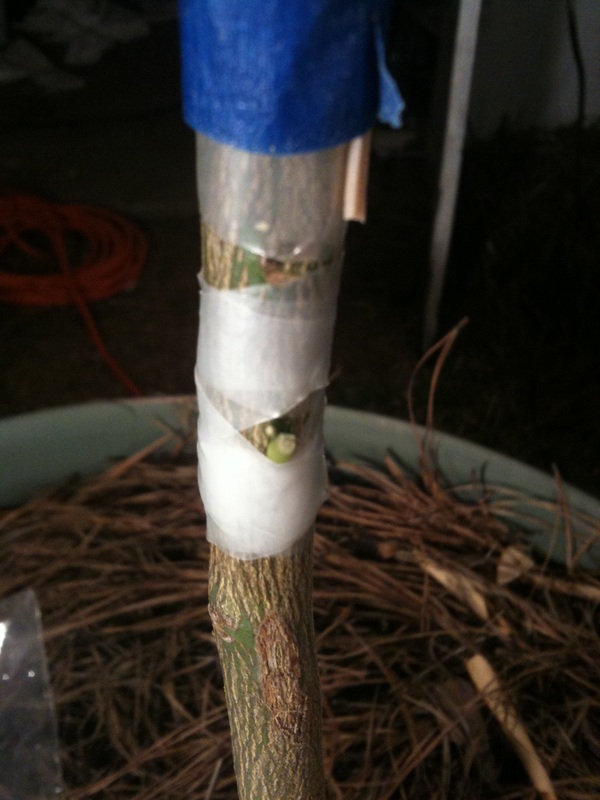
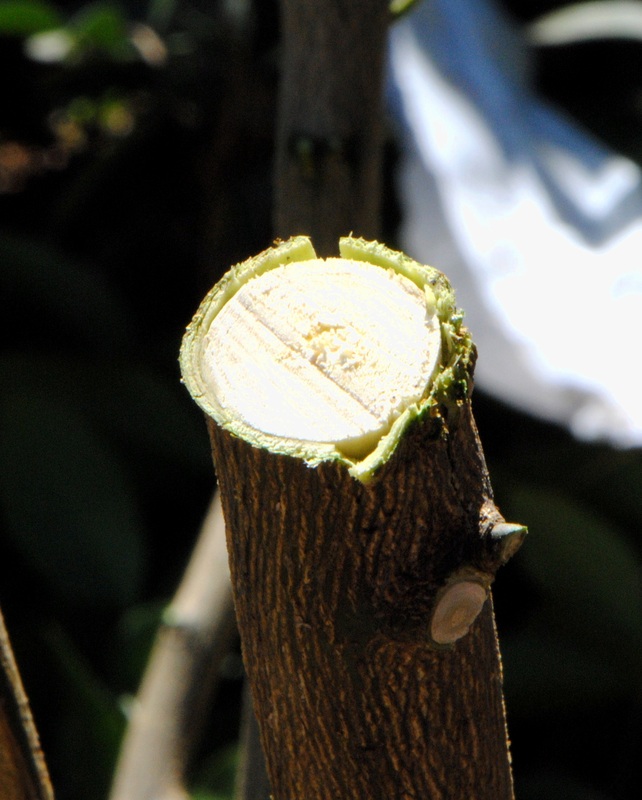
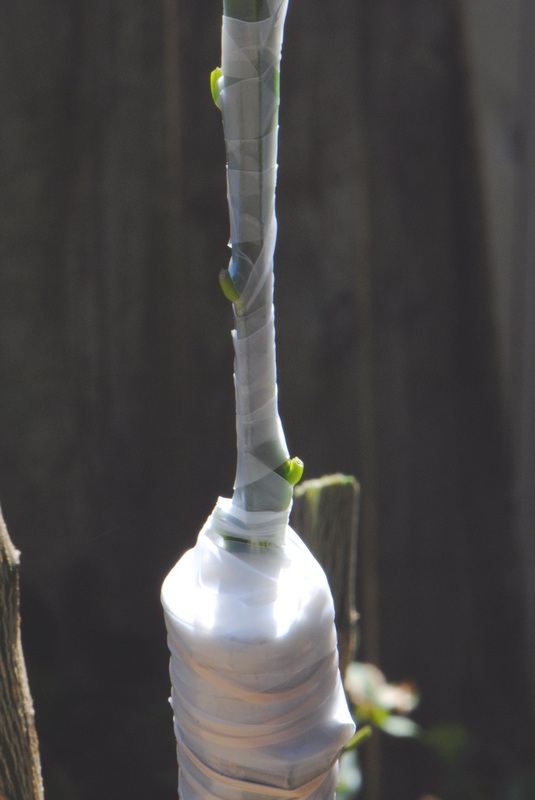
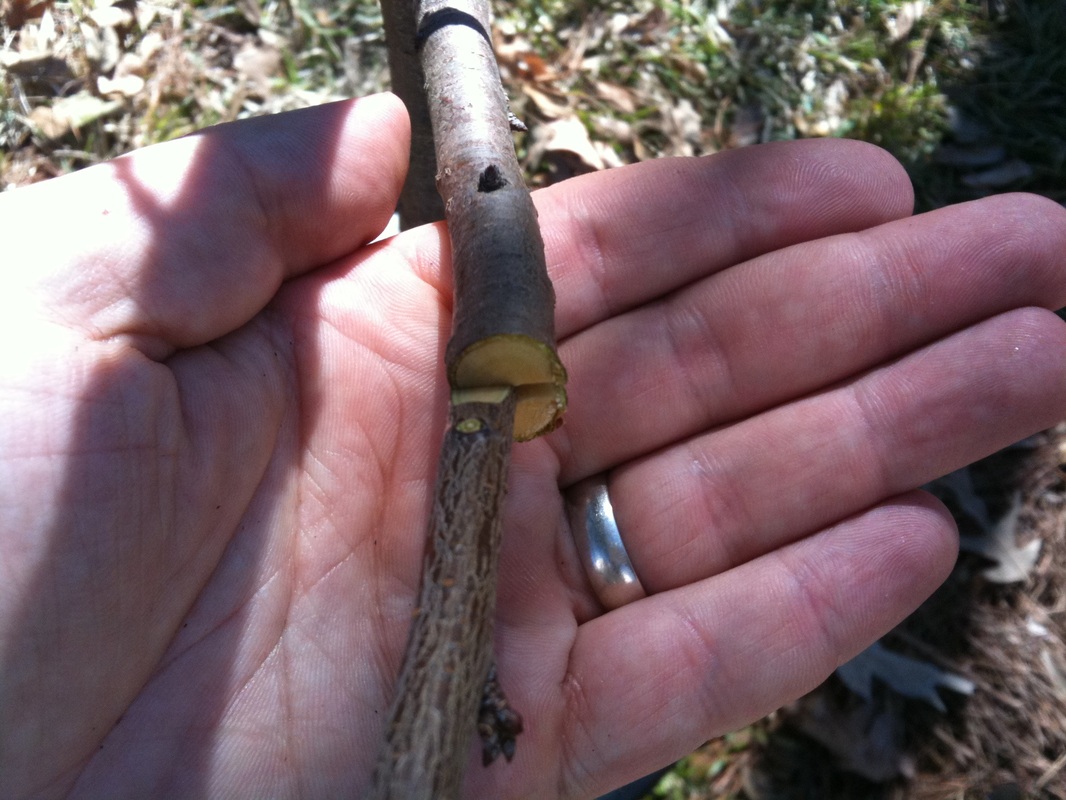
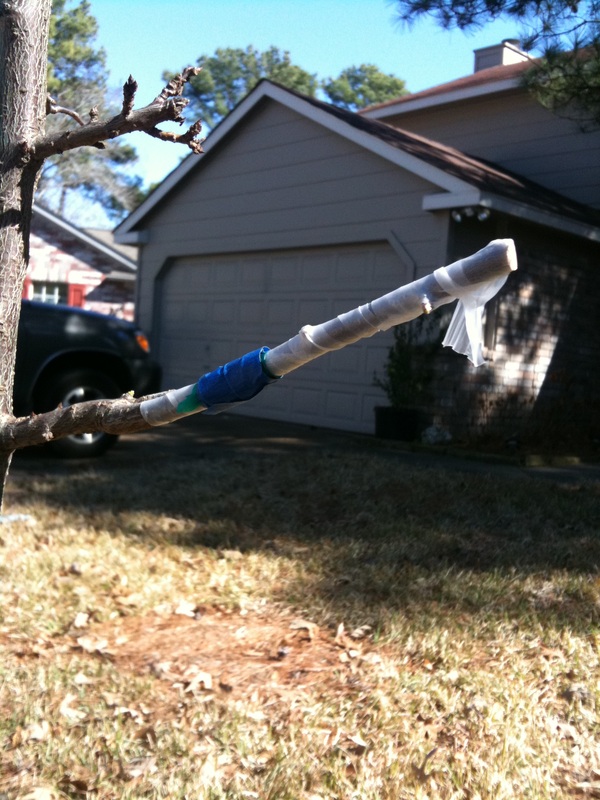
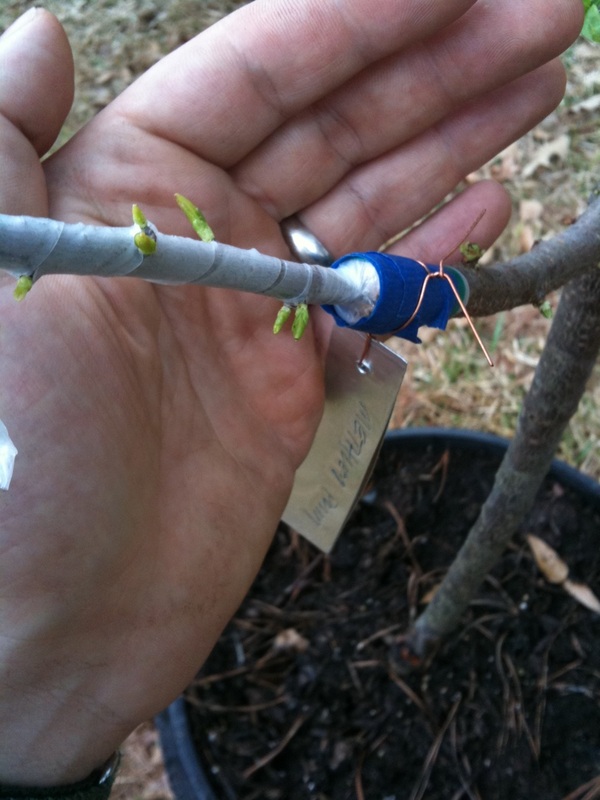
While most people probably spend last Thursday night with their special Valentine, I drove out to the Bear Creek Extension Office to attend the Gulf Coast Fruit Study Group grafting program. I had been asked to assist Dr. Natelson and George McAfee, but I don't know why. Those two master grafters had everything under control all by themselves. Dr. Natelson began by giving a great introduction to grafting and the benefits of learning to graft, such as being able to grow several varieties of fruit on a single tree, or being able to top-work a bad tree into a better variety. Then George McAfee gave a detailed presentation of his grafting toolkit, discussed how to select good budwood, and demonstrated how to cleft graft citrus. I learned that cheap electrical tape can be used instead of parafilm, and that razor blades can be handy for making clean final cuts on a scion.
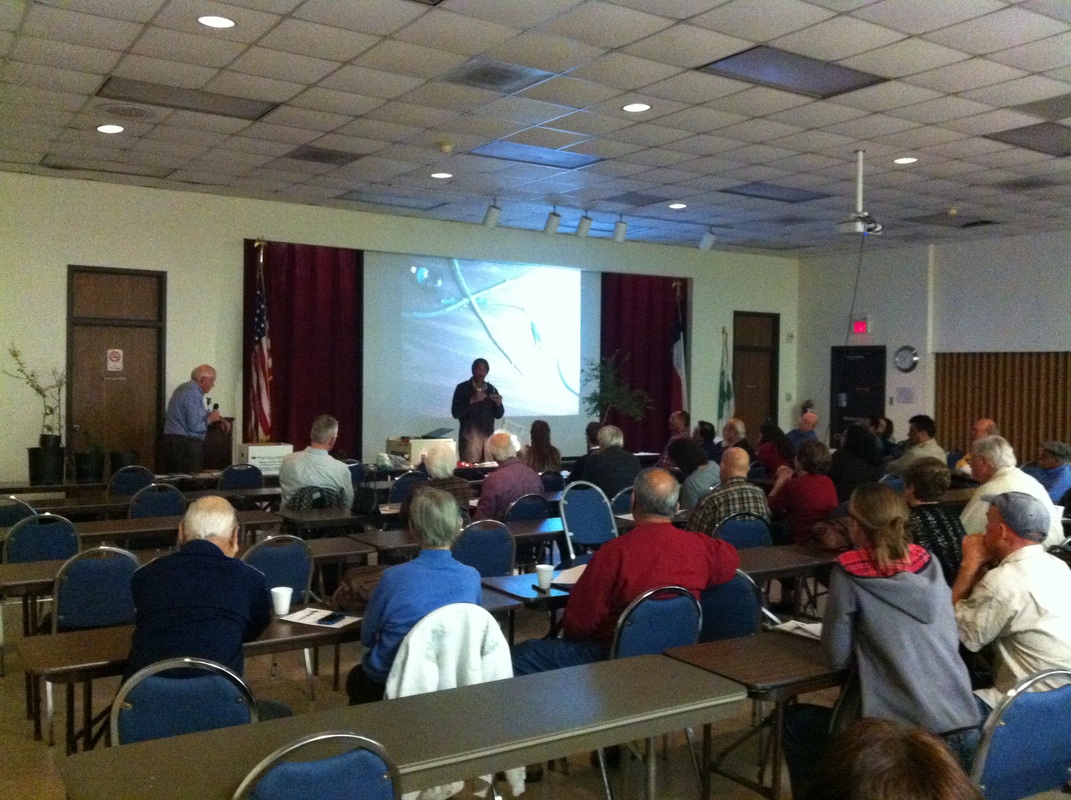
Overall, the program was not at all like what I expected. The only other grafting program I've ever been to is John Panzarella's annual grafting class in Lake Jackson, where a few grafting techniques are demonstrated, and then everyone gets to try to do it themselves to gain some hands on experience. I guess I just assumed that this would be very similar, which is why I hauled so many rootstocks down there. Of course, I had to leave before the program ended, so people may have had the chance to try their hands at grafting after all. I would have liked to have stayed until the end, but the presentations were still going strong at 8:45 pm. Dr. Wife was home alone with some really cranky kids, I had work the next morning, and it looked like the program might go on to 10 o'clock or later, so I had to call it a night. I feel bad that I had to leave when I did because I hated to leave a bunch of plants for someone else to have to deal with, and I had told one gentleman that I would help him graft his rootstock to a Cara Cara. I really hope that Dr. Natelson or George were able to to it for him, and that everyone that wanted some rootstocks to practice on was able to take some home.
Overall, the program was not at all like what I expected. The only other grafting program I've ever been to is John Panzarella's annual grafting class in Lake Jackson, where a few grafting techniques are demonstrated, and then everyone gets to try to do it themselves to gain some hands on experience. I guess I just assumed that this would be very similar, which is why I hauled so many rootstocks down there. Of course, I had to leave before the program ended, so people may have had the chance to try their hands at grafting after all. I would have liked to have stayed until the end, but the presentations were still going strong at 8:45 pm. Dr. Wife was home alone with some really cranky kids, I had work the next morning, and it looked like the program might go on to 10 o'clock or later, so I had to call it a night. I feel bad that I had to leave when I did because I hated to leave a bunch of plants for someone else to have to deal with, and I had told one gentleman that I would help him graft his rootstock to a Cara Cara. I really hope that Dr. Natelson or George were able to to it for him, and that everyone that wanted some rootstocks to practice on was able to take some home.

The masters explaining the tools of the trade.
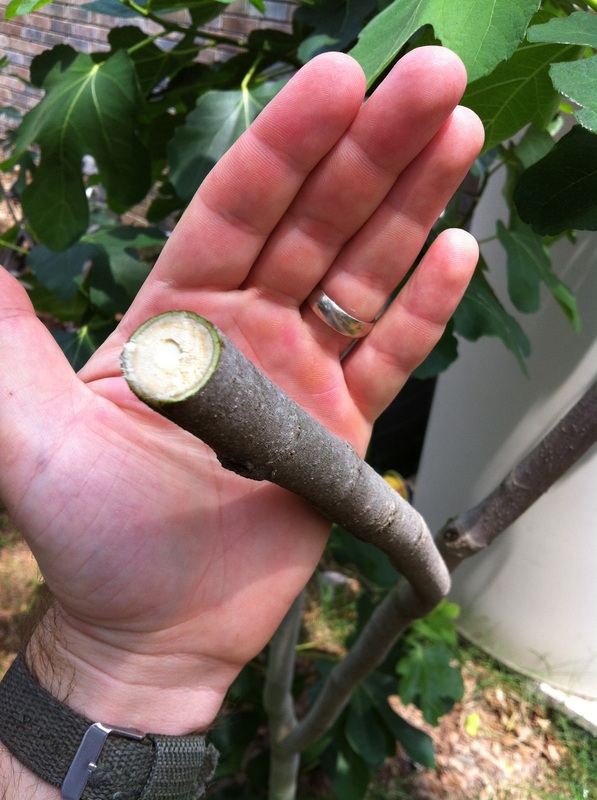
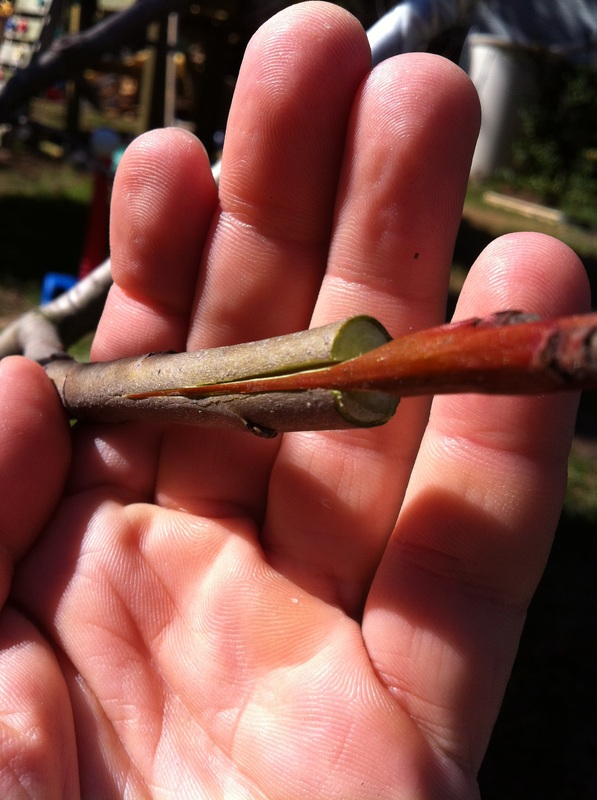
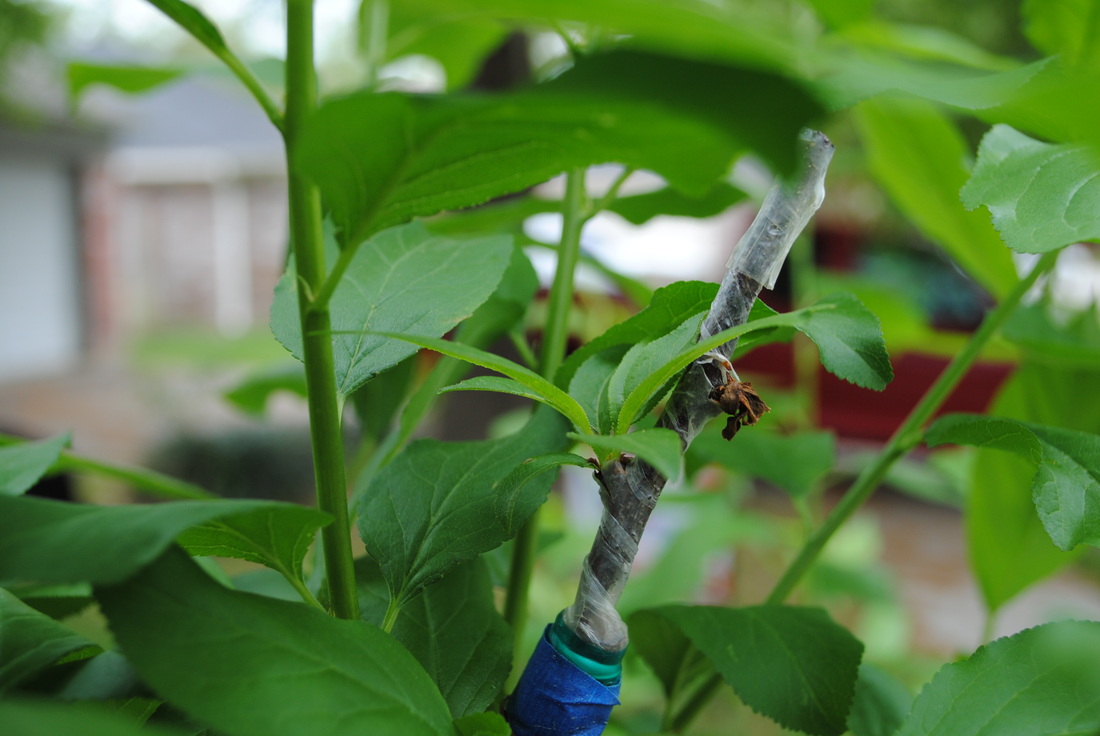
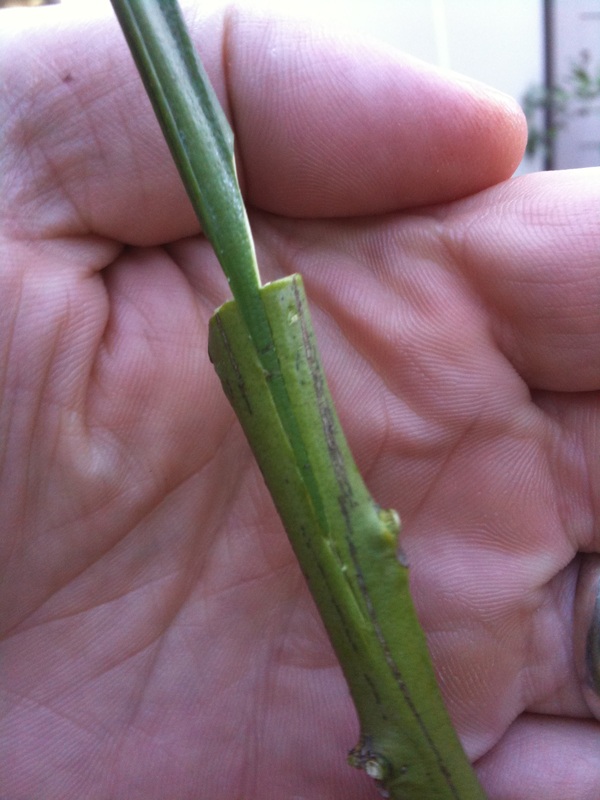
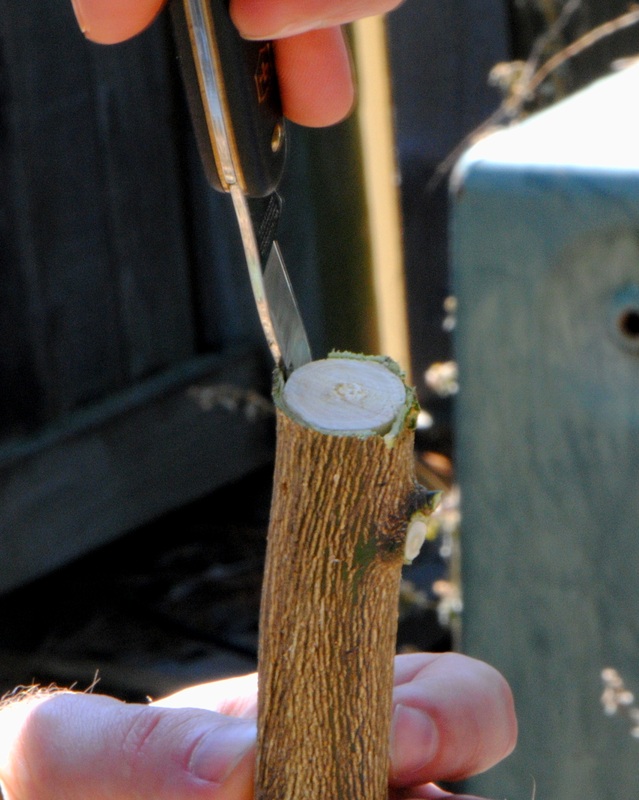
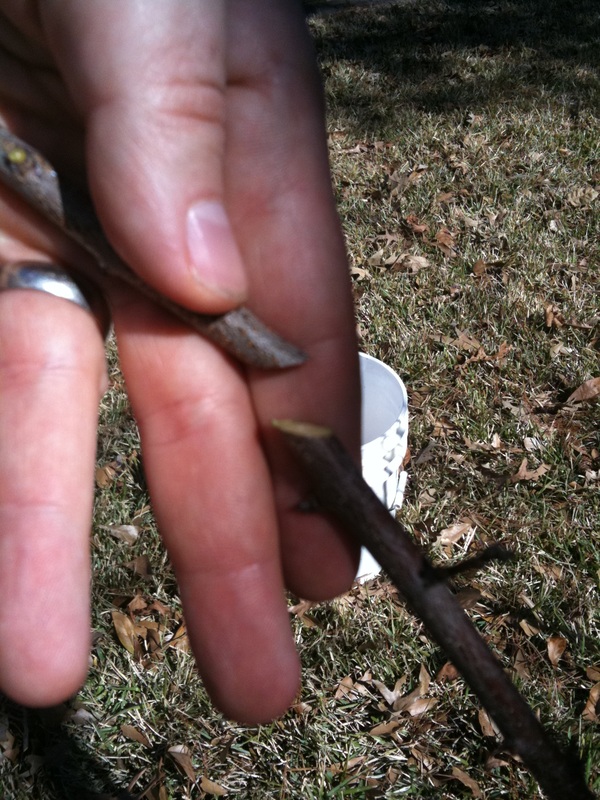
George McAfee demonstrating how to cut a scion.
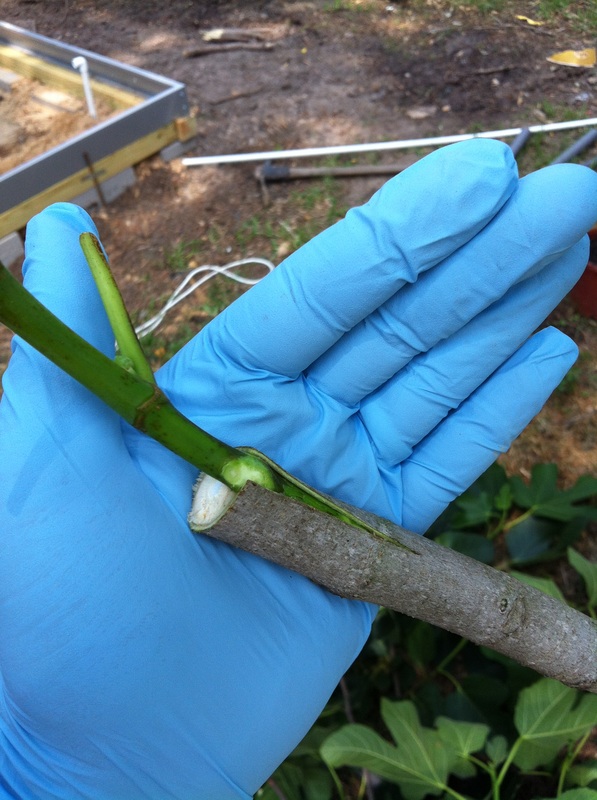
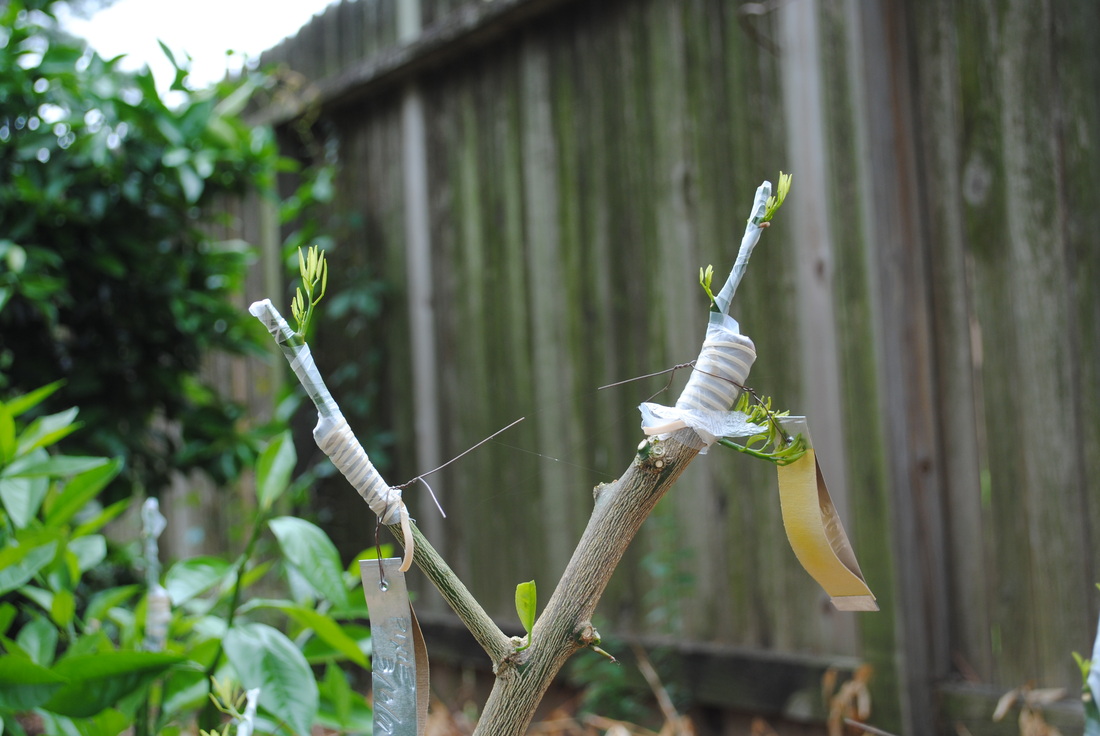
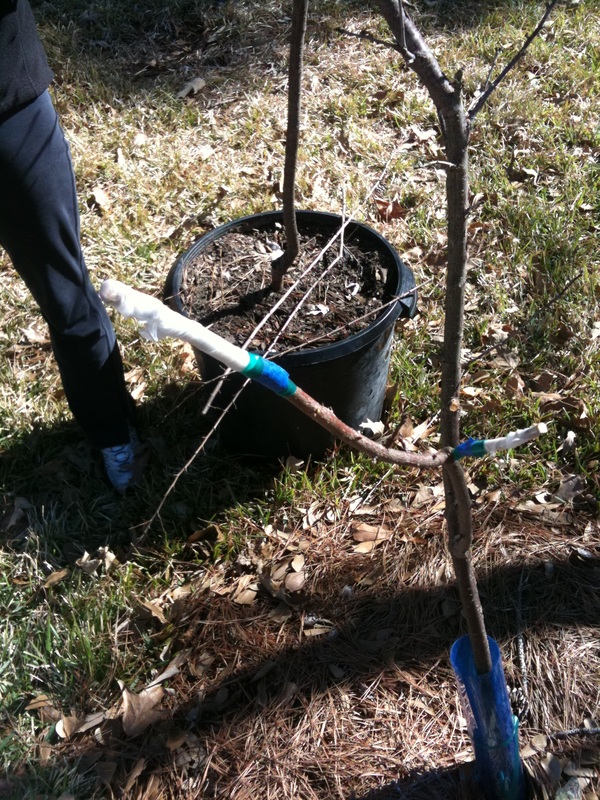
George McAfee demonstrating a cleft graft.

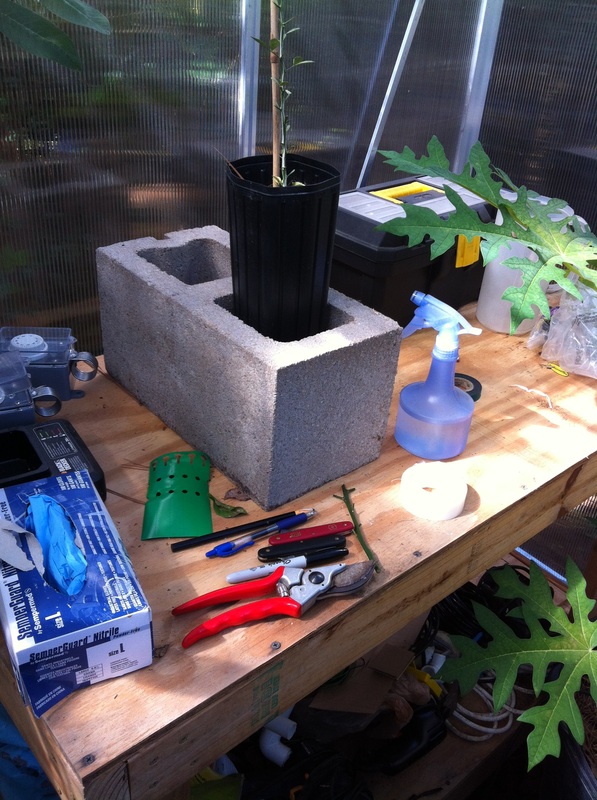
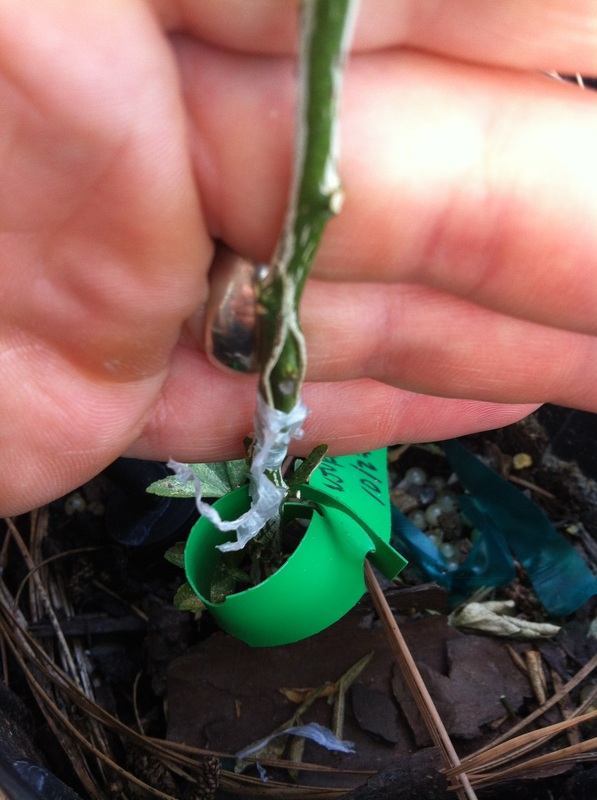
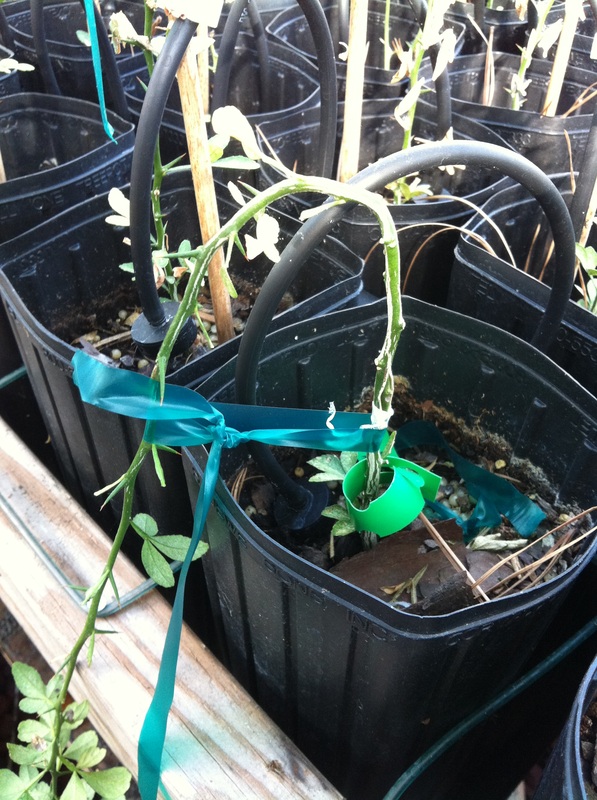
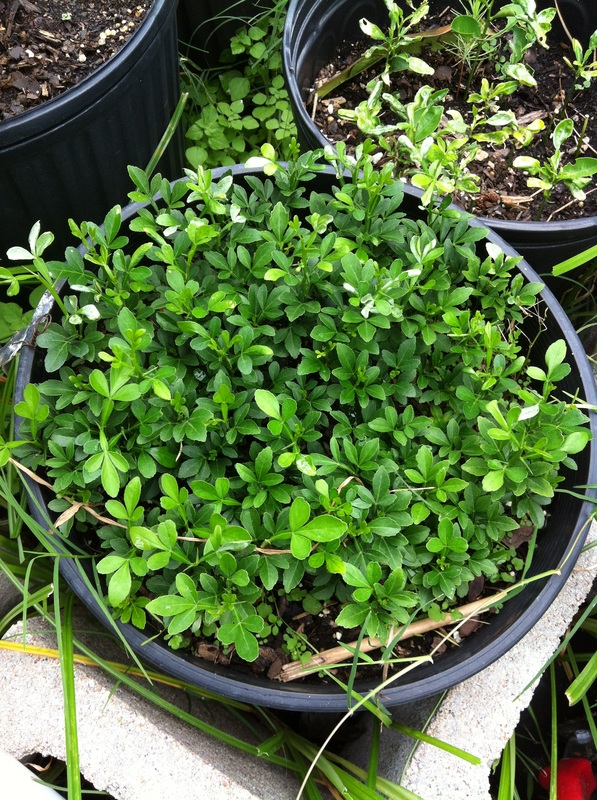
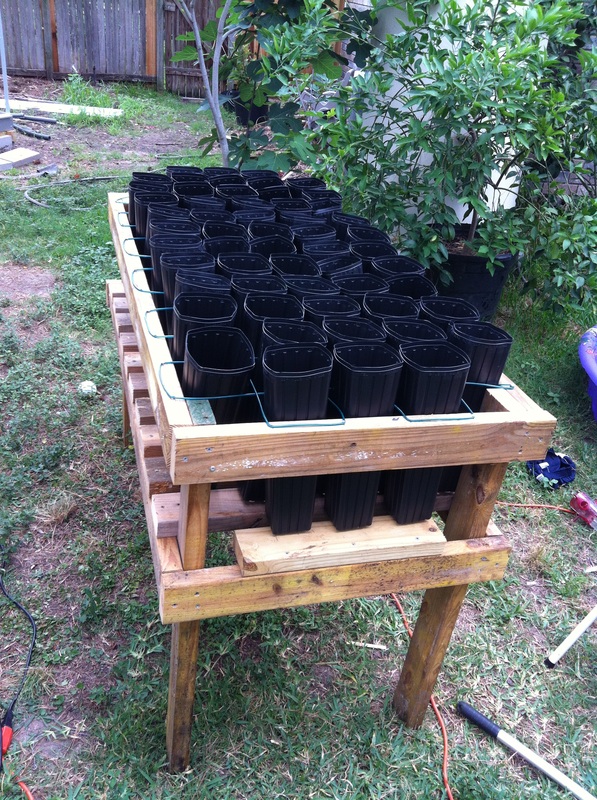
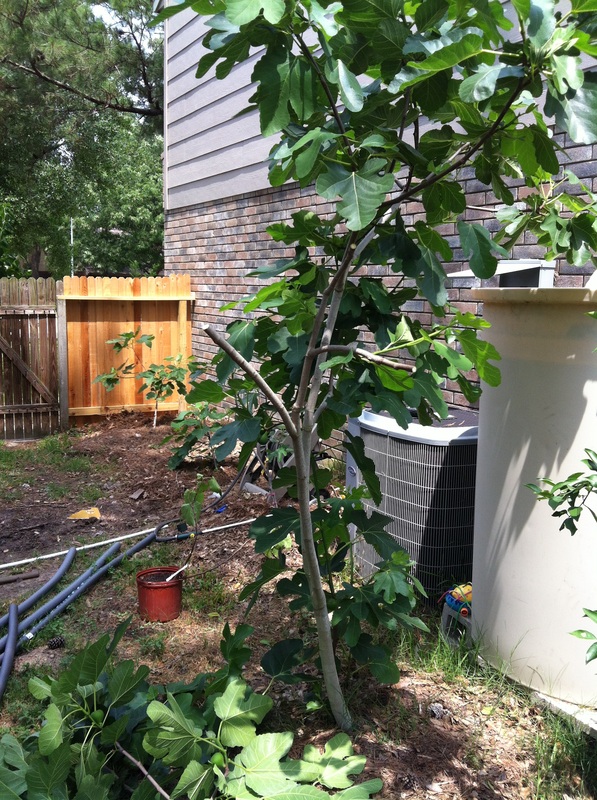
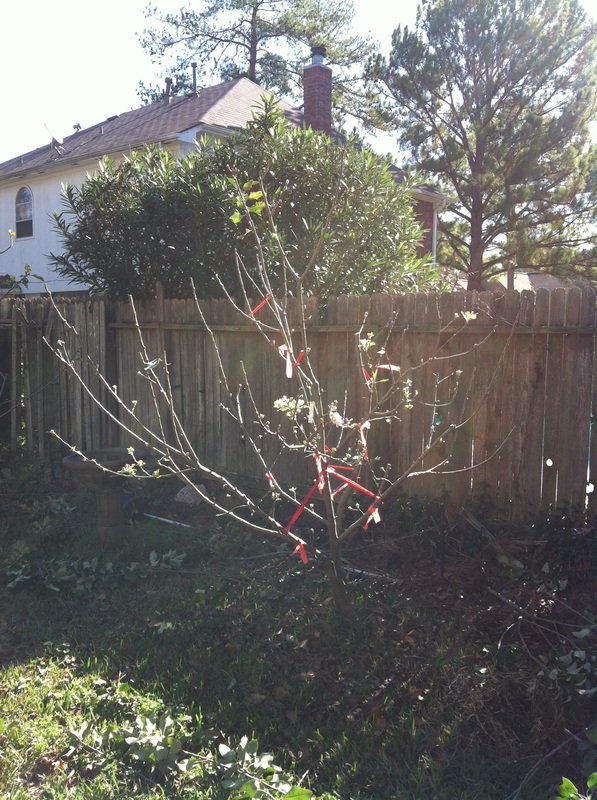
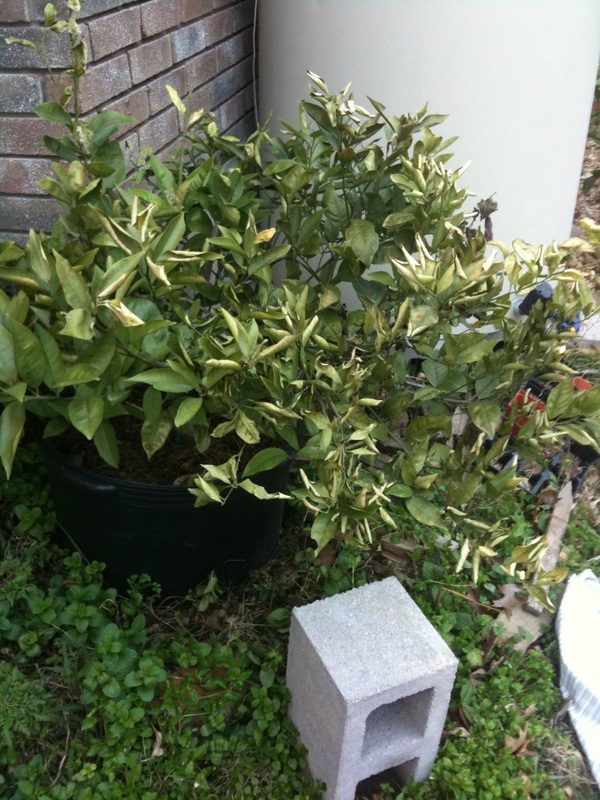
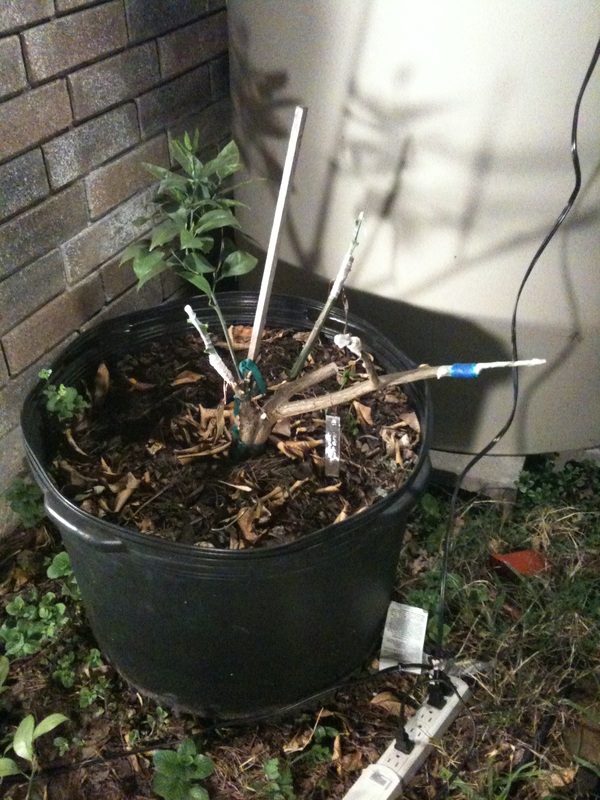
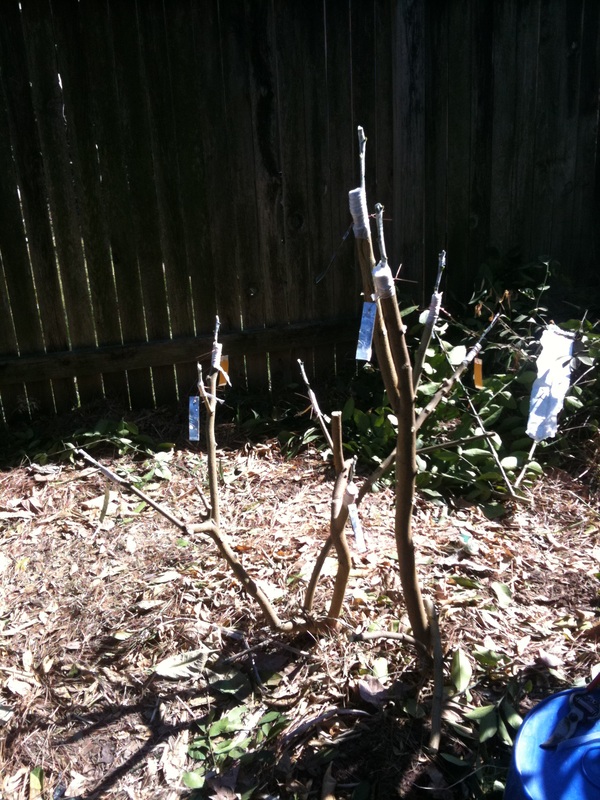
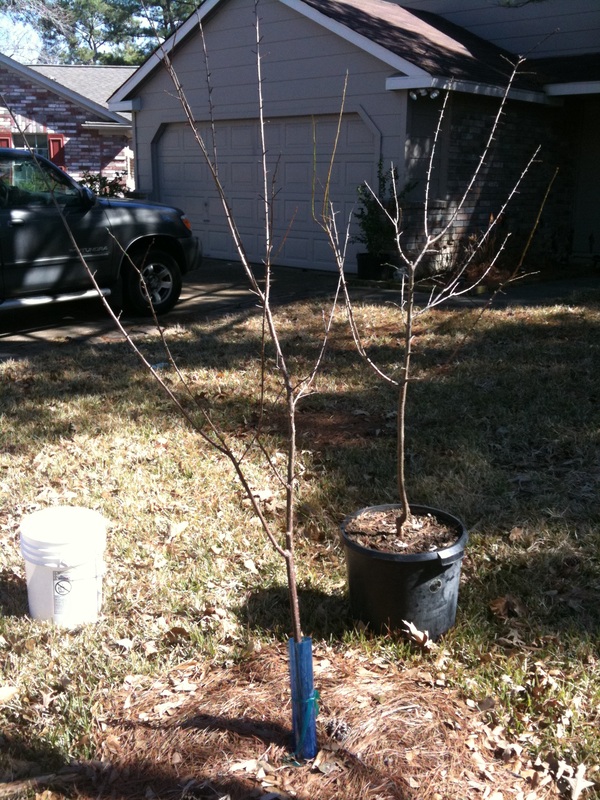
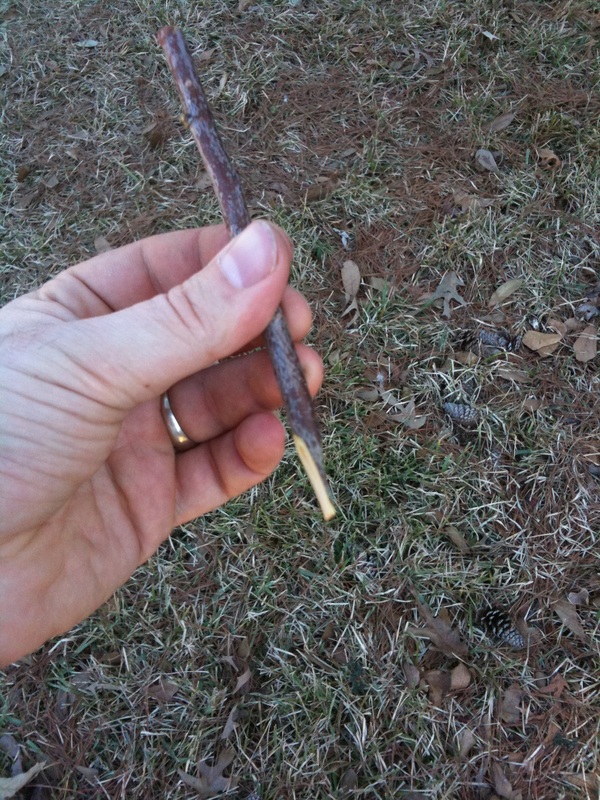
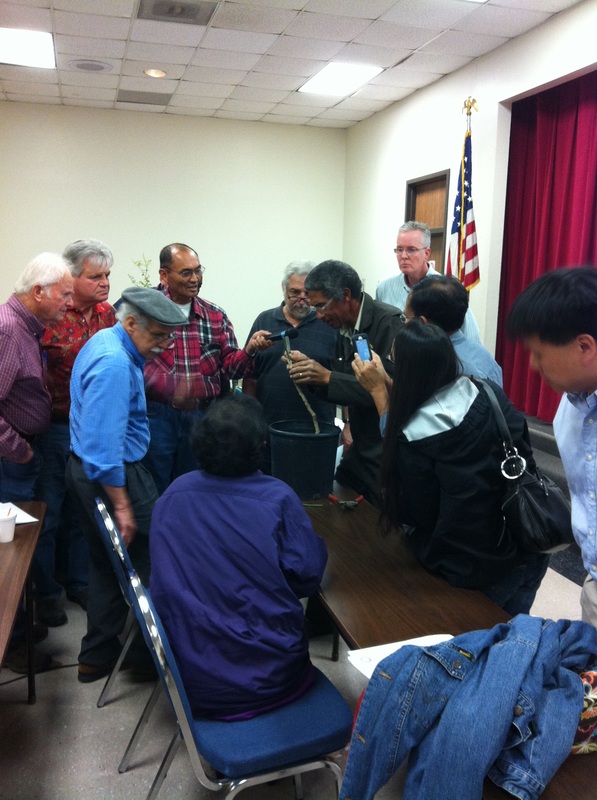
Rootstocks I brought to share. Hope they all found homes!